Okay, I know Christmas is over, but these wood DIY gift tags are too adorable not to post, and they can be modified for any occasion: Valentine’s, birthdays, anniversary, the list goes on.
Before Christmas I was trying to think of a super simple DIY project for the holidays, and the result was these adorable wooden gift tags! I absolutely love the Christmas season; the lights, the music, the Christmas trees, coming up with cute, new ways of wrapping, the food, the time spent with loved ones….all of it!
Creative Wrapping
There’s something about a creative, detailed gift wrapping that just gives me all the feels. The fact someone takes the time to put the details into the wrapping (which most of the time gets ripped off in seconds) just speaks to me. I love it, and more than anything, I love creating new and fun ways to wrap. So when I thought of these gift tags this year, it was the perfect way to tie my love of unique wrapping together with woodworking!
The Process
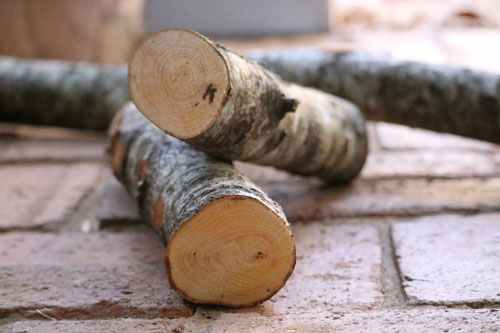
I began with a fallen tree branch which I found in the woods. I cut several sections from areas of the branch which were relatively straight using my miter saw.
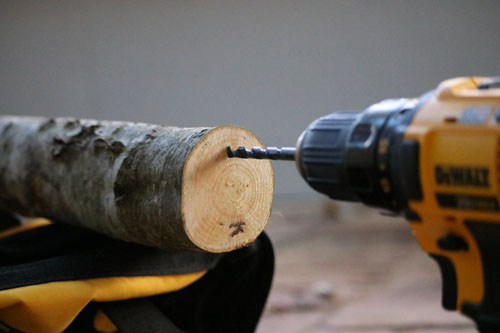
Then I drilled each section near the edge, using a 1/4″ drill bit. I drilled as far as the drill bit would allow
(to where it is clamped by the drill, called the “chuck”).
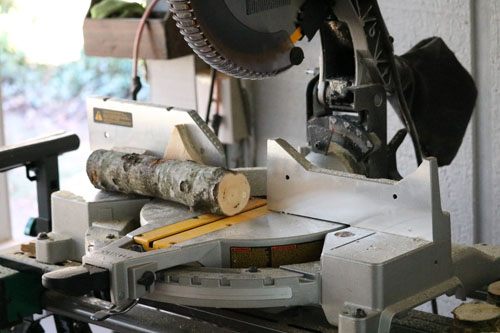
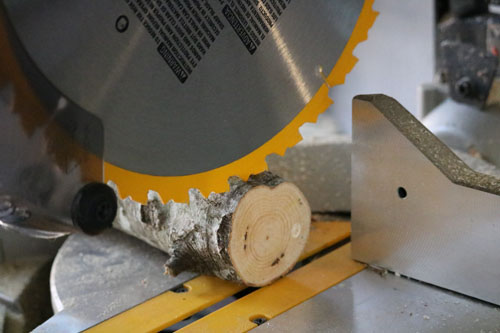
Next, I sliced thin slices from the pre-drilled section on my miter saw.
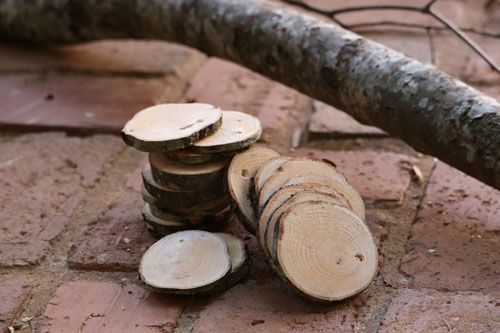
This is my final product ready for stringing and painting. Lightly sand each surface with a power sander just to knock the roughness off.
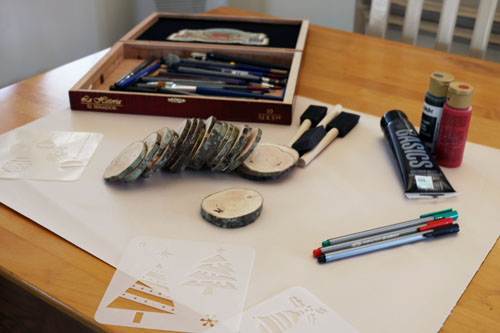
I then gathered my painting supplies: Christmas stencils, felt tip pens, acrylic paints, sponge brushes, and a few paint brushes (small detail brushes work best), jute string, and scissors.
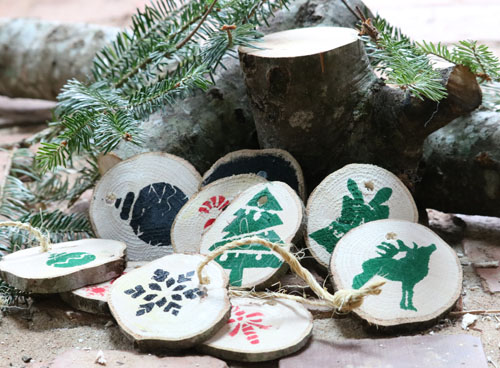
To begin the decorating process, I first chose stencils that fit well on the wood slices. I then proceeded to sponge the paint on using a sponge brush. If necessary, I went back with a small paint brush and touched them up. I did find that the stencils that worked best were the simple ones with fewer details. I had issues with the paint bleeding underneath the more intricate stencils so the details didn’t come through. Lastly, after the paint dried, I cut and tied on jute strings.
The Finished Product!

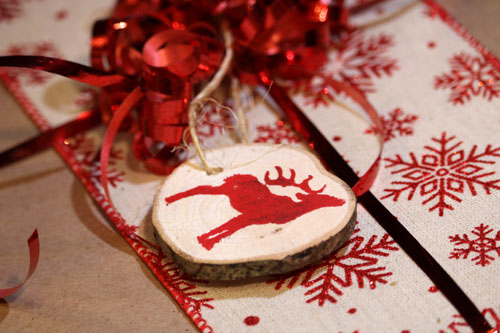
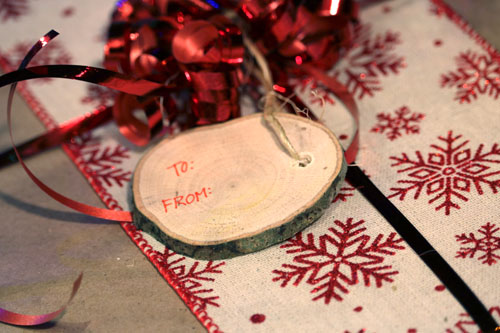
In addition to the “To/From”, I added the year in small numbers along the edge. The recipients of these gift tags can re-purpose for years to come as Christmas ornaments!
I hope you enjoyed this tutorial and try out this fun holiday project! If you make your own version of these, please post pictures and tag us on social media – @steeltoedstilettosdiy. We would especially love to see your Valentine’s creations. 🙂
Xoxo,
Amanda
***Steel Toed Stilettos, LLC and its sole owner, Amanda Miller cannot be held responsible for your safety, your use of power tools, or outcome of any home improvement/DIY projects you choose to undertake and/or complete. Amanda Miller is not a licensed engineer and therefore all designs are what she has found to work for her personal use and neither she nor Steel Toed Stilettos LLC will be held responsible for any injury, illness, or other claims associated with her designs, plans, or projects.***