
I think we can all agree that the prep work is often not the most satisfying or enjoyable part of a project, but is 100% necessary for a stunning result! I am happy to announce that the wall prep for paint is COMPLETE!! Queue happy dance…
*************************************************************************************************
If this is your first time on the blog -welcome! My name is Amanda, and I am a full time construction project manager, and spend my “spare” time building and designing as the creator of Steel Toed Stilettos. I am participating for the first time as a guest in the One Room Challenge as we completely transform our entryway. You can check out all the other amazing spaces and find your favorites to follow along with.

*************************************************************************************************
WALL PREP
As you probably read in last week’s blog, oh no??, ok well go check it out then, I finished the skim-coating in week 3. So this week, we tackled the last step of the wall prep: sanding. Honestly the sanding went way quicker and was easier than I expected. The worst part is the cleanup, which I was prepared for. We placed plastic over all the doorways leaving the room, turned the HVAC system off so we could cover the return air vent, donned respirators/masks and went to work! We had the entire entryway sanded in about 2 1/2 hours.
After sanding, we ran over the walls with a broom to get the majority of the dust off and that’s all we did for the walls. From what we researched, if using a good primer, what little bit of drywall dust is left will mix with the primer and help fill any nicks that may be in the skim coat. We then vacuumed and swiffered the fine dust up, carefully rolled up and disposed of the plastic sheeting covering the doors, and cleanup was done. We really didn’t have issues with much dust escaping. The little bit that escaped right past the doorways, we were easily able to vacuum up.
PRIMING
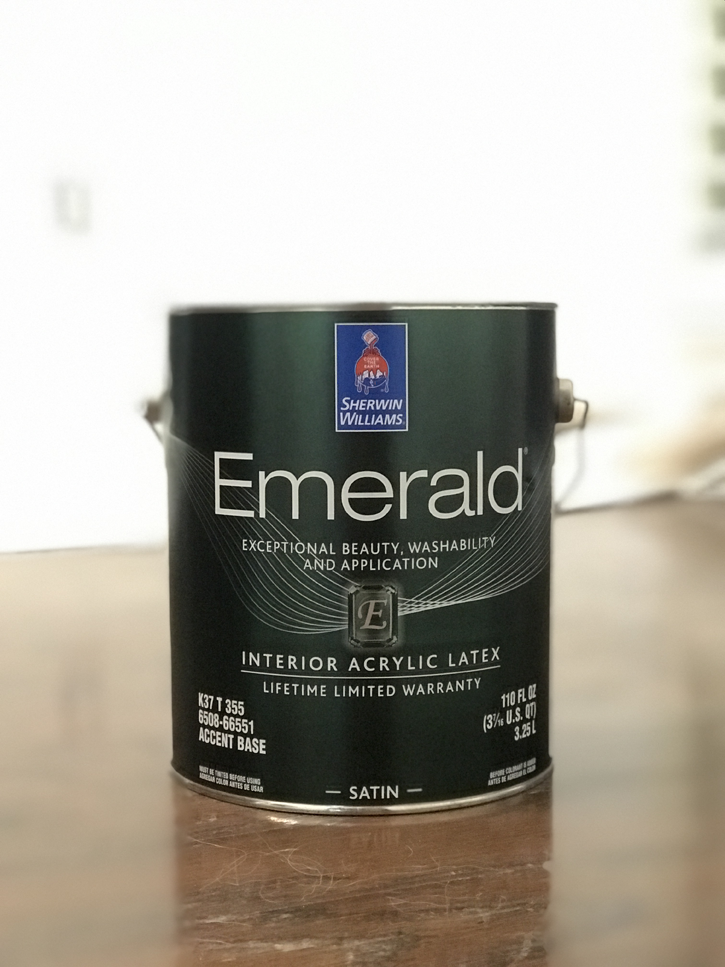
The next step was to go purchase our paint. I had already chosen the paint color; Sherwin Williams Shamrock, and after going over the different paint options with our local Sherwin Williams rep, we settled on the Emerald line.
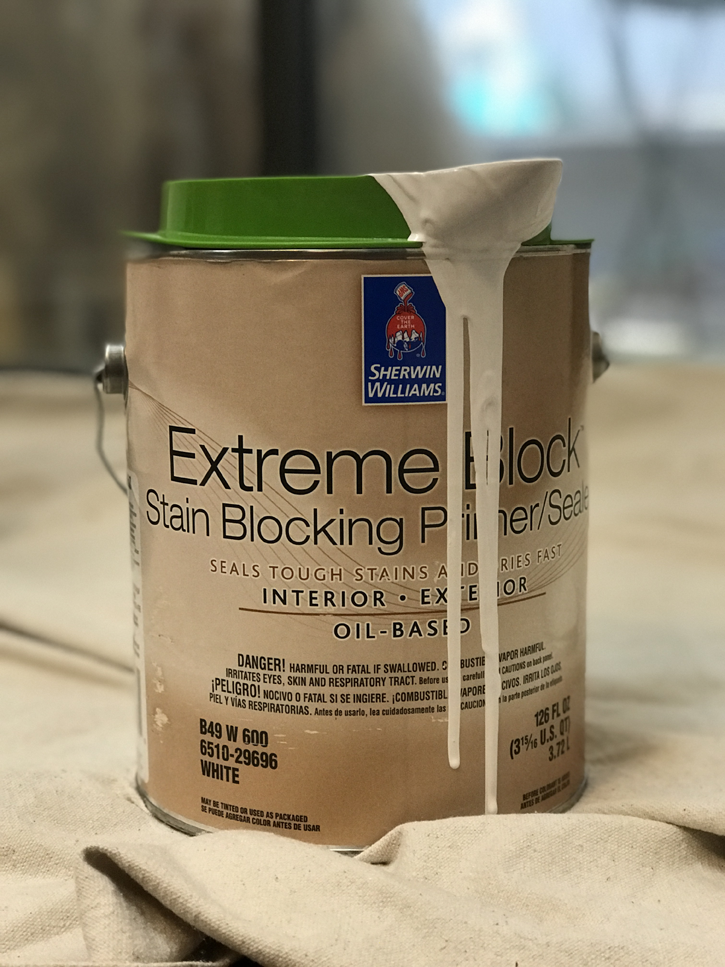
Whenever you are skim-coating, you always want to prime before painting. The Sherwin Williams rep recommended the Extreme Block – Stain Blocking Primer/Sealer. Since we are not professional drywall finishers, we wanted all the help we could get ensuring our walls have a beautiful finish so we followed his advice and boy, was that the right decision! This primer is a dream; it goes on and covers so well and is already giving a beautiful finish. This primer is oil-based which the rep explained to us can go under Latex; you just cannot put oil over latex.
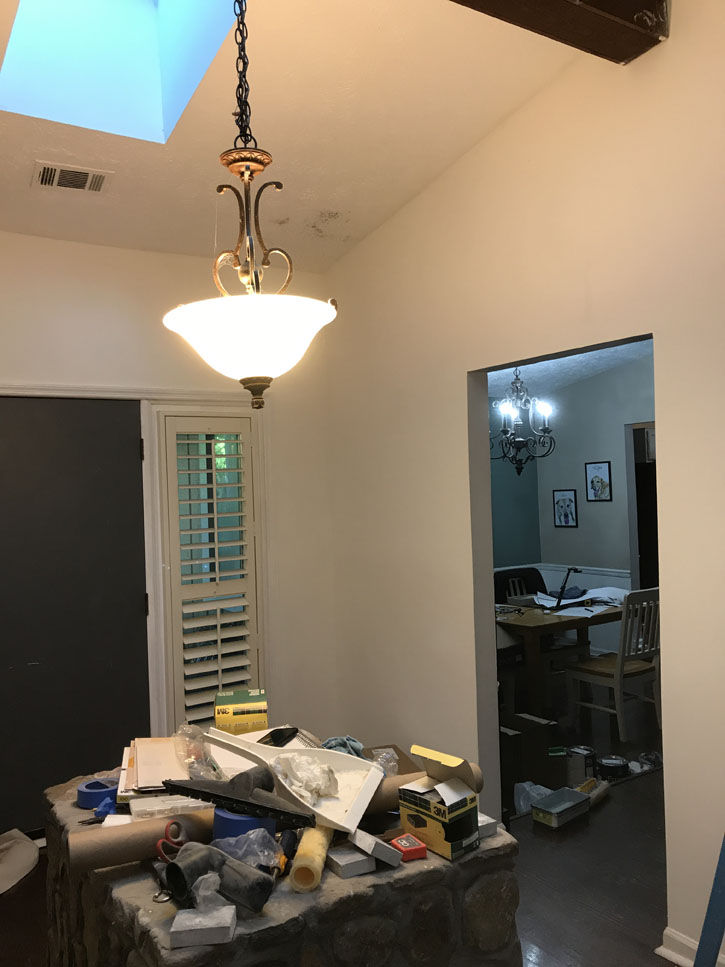
Well, that’s about it. I know you were probably hoping to finally see some color on the wall, as was I, but you know how projects go; it never seems like you quite get as much done as you plan to or think you will. But we have primer on the wall, and I’ll take it! Thanks for following along as we continue transforming our entryway! If you want to get updates as soon as we send them out, make sure you sign up to receive the posts directly to your email. Also check out the final prime photos below and see how far we’ve come.


Until Next Week,
Xoxo,
Amanda


